
The challenge
Your city is on the other side of a valley. Using only gravity, carry one cup of water from the spring to the city, without losing more than a quarter of it. The channel must cross a gap of at least 30 centimeters (about a foot) on supports.
Materials for each team
- Cardboard tubes, card or foam board, and paper cups
- Plastic wrap or foil to waterproof the channel
- Masking tape, scissors and rulers
- Books or boxes to build different heights
- A measuring cup, a tray to catch spills and water
Steps
- Plan: sketch the route, mark the start height and end height, and decide where supports go.
- Build the channel: fold card into a U-shape and line it with plastic wrap.
- Build supports: stack books or make cardboard arches to hold the channel across the gap.
- Set the slope: lower the channel a little at each support. Too steep and water splashes out; too flat and it stops.
- Test: pour exactly one cup into the spring end and measure how much reaches the city.
- Improve: change one thing at a time and test again. Record every result.
The real science: a gentle slope
Roman aqueducts worked by gravity alone. Engineers surveyed the land and kept a very slight, steady downhill slope (the gradient). The aqueduct that carried water about 50 kilometers to the Roman city of Nîmes, including the famous Pont du Gard bridge, drops only around 12 meters along its whole length.
Most of a Roman aqueduct ran underground. Arches were used only where the channel had to cross a valley while keeping its slope. Students can calculate the gradient of their model: the drop in height divided by the length of the channel.
Discussion questions
- Why did the Romans keep most aqueducts underground?
- What happened when your slope was too steep, or too flat?
- How does your city get its water today, and does it use pumps, gravity or both?
- Why might arches be a strong shape for carrying a heavy channel?
Questions students and teachers ask
How did Roman aqueducts move water without pumps?
They used gravity. The channel sloped very gently downhill all the way from the source to the city, so water flowed on its own.
What materials do you need to build a model aqueduct?
Cardboard or card, plastic wrap or foil to waterproof it, tape, cups, books or boxes for supports, and water. A tray underneath keeps the classroom dry.
What is a good gradient for a model aqueduct?
Start with a drop of about 1 centimeter for every 30 centimeters of channel and adjust. Students will discover that a gentle slope gives a steadier flow than a steep one.
Which real aqueduct can students study?
The Pont du Gard in France and the aqueduct of Segovia in Spain are famous survivors. See the Aqueduct page on this site for photos.
Building pages to use with this guide
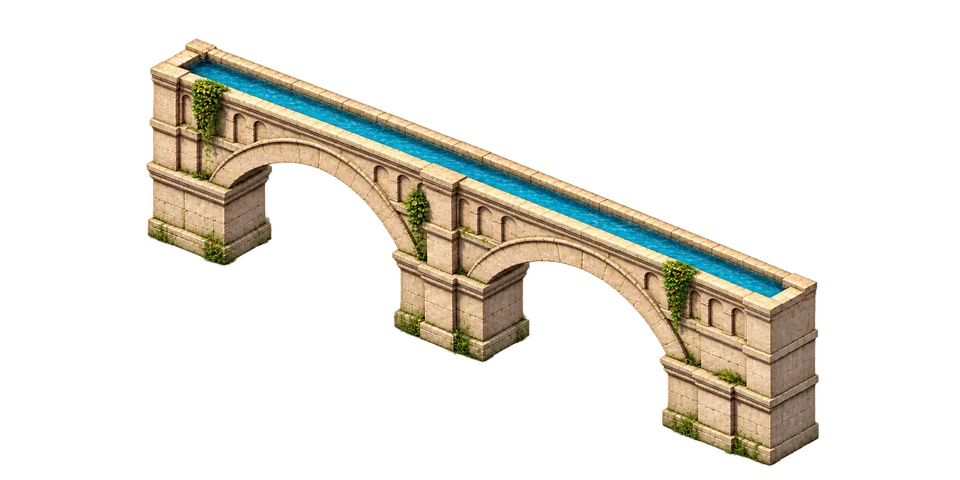 Ancient RomeAqueductA channel that carried fresh water from hills and springs many kilometers away into the city, using only gravity.
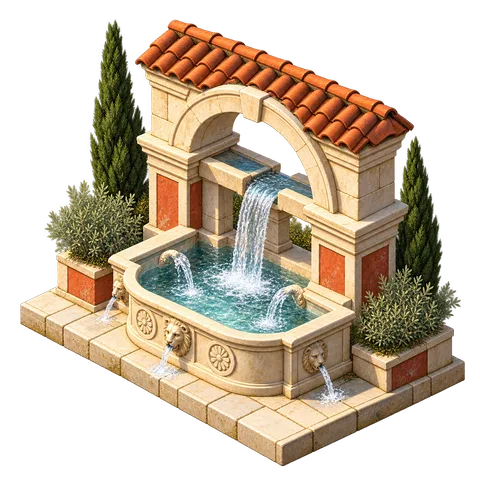 Ancient RomePublic fountainA stone basin on a street corner where anyone could collect fresh water from the aqueducts.
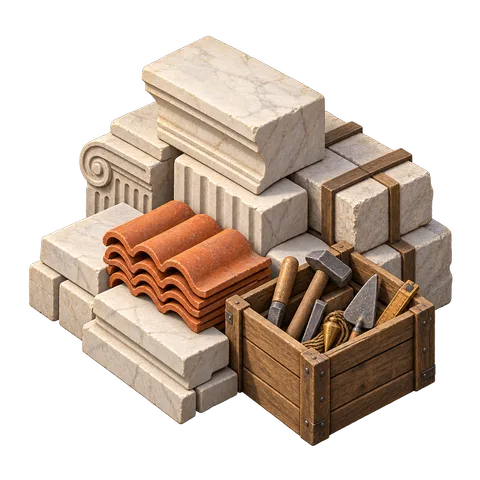 Ancient RomeBuilding materialsConcrete, brick, stone, marble and clay tiles: the materials that built Rome.
 Modern TownWater systemHidden pipes, pumps and treatment plants bring clean water to every tap and carry dirty water safely away.
 Elven Green WorldSpring circleAn imagined ring of tall stones around a clean spring. Real cities save billions by protecting the land where their water comes from.
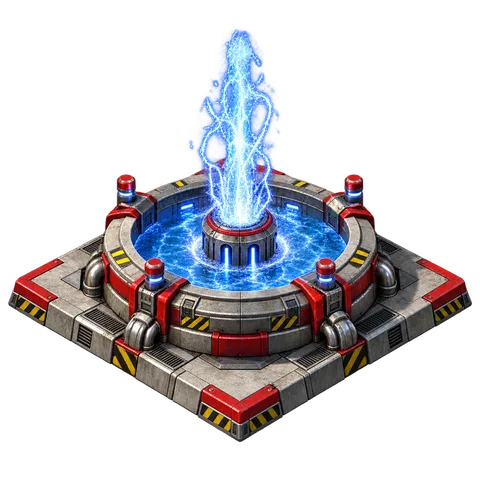 Robotic FutureWater recyclerA system that cleans and reuses almost every drop of water, including sweat and urine, because water is too precious to waste.
Sources
The facts in this guide are based on these sources:
- TeachEngineering (University of Colorado Boulder), "Do as the Romans: Construct an Aqueduct!"
- Encyclopaedia Britannica, "Aqueduct"
- Frontinus, The Aqueducts of Rome (about AD 97)
- Next Generation Science Standards, MS-ETS1 Engineering Design